Don't confuse a seemingly good pair of bins at retail or online with how they'll really perform at finding birds in the sky. You must test a pair for how long it takes for the image to come into view, the detail of the image in the periphery of view, and the ability of your hands and eyes to use the binoculars. And be sure to test them outdoors in good daylight for all of these characteristics. In daylight you can easily see: 1) image softness; 2) glare; 3) focusing problems; and 4) handling problems with the bins.
Start with the scene, not the specification sheet
Start with the scene, not the specs. Look for a scene with a few layers – the branch in the foreground, the roofline of a distant building, the textured bark of a tree and the leaves against blue sky of a tree in the background. Wildlife observation with binoculars is rarely observed against a flat wall, so use something with some layers to it.
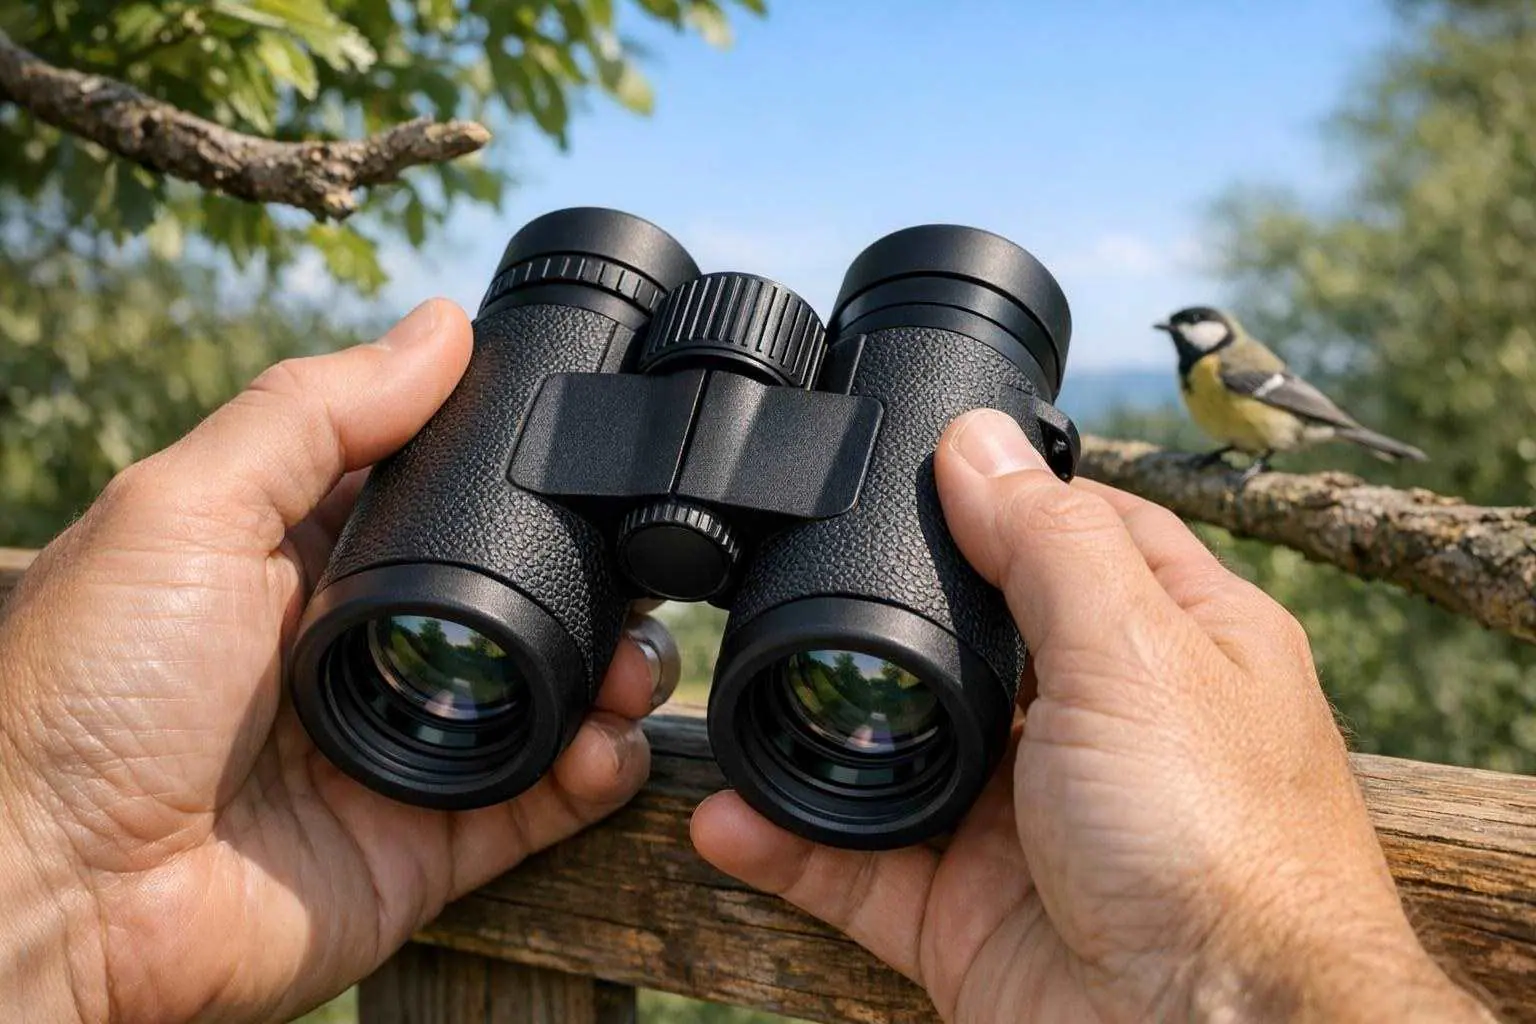
Holding the binoculars comfortably against your face will expose the differences in the view image quickly. Note whether the entire view stays sharp or if it appears to 'swim' around when you look at it from a slightly different angle. The image may appear to 'darken' slightly as well. A little 'fiddling' with your hand position on the barrels may resolve these issues with compact and lightweight binoculars.
Wait a bit before going to your favorite location. First test all models for the same amount of time at the same spot of daylight and from the same angle. Then go to your favorite location to test them in practice there.
Check image clarity from center to edge
Image clarity can be compared using fine detail. Test the image using tree bark, roof tiles, thin branches and even the pattern of a bird's feathers. The center of the image should be sharp and then gradually fade off to the edges. If the outer edges of the image become very blurry then more frequent re-positioning of the binoculars will be required when following a moving bird.
Movable focus: While some blurring of detail at the edges is normal, particularly on low cost optics, a distinct and marked step in focus is generally undesirable. Smeared detail, colored fringes on high contrast edges and hazy areas of brightness all indicate sub-standard optics. Specifically look for smudging of detail and check for colored fringes on high contrast edges (e.g. the joins between shade and light on a roof or tree trunk). A hazy area of bright color (e.g. the sun, the chick's yellow patch on its face) is also indicative of poor optics.
Check for glare, particularly in bright blue or hazy sky conditions. If the image washes out when light enters from the side of the objective lens(es), then it is likely that the pair suffers from stray light entry. However, the degree to which this problem affects you will depend on your intended use – open country/habitat, or brightly lit urban environments.
Test focus where wildlife actually moves
Turning the focus wheel should require the tiniest of turns in order to make very small changes to focus. It should not be too easy to turn either, or the finesse in your finger required to focus in very fine detail will be thwarted. Stiffness and uneven resistance in turning the focus wheel is also to be avoided.
Check to see if you can quickly and easily bring to focus different details at varying distances from you. Remember, wildlife observation often involves bringing into focus different parts of a subject's body. Also, test to see if the image will hold steady when you take your finger away from the focus wheel. If not, then the focusing mechanism may be very difficult to use for practical viewing of wildlife.
Your eyes are unique as well as how you fit a particular pair of binoculars to your eyes. Check the eyecups as well as the eye relief (how far your eyes are from the lenses) and adjust as necessary to have the full image from both objectives. It should be comfortable for your eyes to look through the binoculars for the length of time you plan to use them.
Treat field of view as a tracking tool
A Binocular's Field of View will affect how easy it is to find wildlife and track its movements. A wide field of view can make it easier to locate birds in trees, while a narrow view will focus your attention and require more accurate positioning and smoother panning.
Test the binoculars for follow of a slow moving subject, like a tree branch in the wind. See if you can follow the whole length of the branch without losing it at the edges. Also see if you have to move your hands in an unusual or exaggerated manner to follow the subject. If so, then the binoculars are not going to make a good field companion.
More magnification increases the size of far-away objects, and so provides more detail, but also makes more obvious any slight movement of the observer's hands, and gives the observer the impression of a smaller viewing area. For casual use in the day-time the most impressive specification is not necessarily the best.
Look for daylight comfort, not just brightness
The view may look nice but in the end it is not what you want to look at for a long time. Check for dark circles around the image, uneven brightness, and eye fatigue after a while. This could be due to an improper eye position in relation to the lens' eye relief. Try the pair with and without glasses if you wear them. You may also want to check how the image looks when the lenses are tilted slightly.
When testing binoculars for nearsighted individuals who also wear glasses to see near, test them with and without your glasses. Make sure the full image can be viewed without having to press the eyecups against your eyes. Also, make sure adequate relief between the lens of the binoculars and your eyes can be achieved with the eyecups.
Inspect the rubbers, the shape and size of the barrels, the location of the focus and other controls on the barrels. All these have to be comfortable to hold and to use. A rubberized exterior does not necessarily indicate good optics but it can improve handling.
Finish with a repeatable comparison
It's a good idea to have a checklist when comparing binoculars under $100 for a short review to record all findings, eg. Center sharpness, edge definition & how quickly it deteriorates, focus wheel size & action, any glare, comfort after 10 minutes etc. Make sure to test them in different lighting conditions.
Be sure to test the same scene in different lighting conditions (open shade vs. bright sunny day) in order to see if any flare or other contrasts will reveal in very bright conditions. Also be sure to test with clean lenses and never look directly at the sun through the binoculars in order to avoid permanently damaging your eyes.
When purchasing binoculars it is best to buy with the purpose for which they will be used as a major consideration. That is, a pair of binoculars for use in the garden for observing birds such as greenfinch, chaffinch and starlings will likely have a larger field of view and be able to focus quickly to observe birds at various distances. However, binoculars for use to observe distant scenes such as mountains, sea and buildings will have greater emphasis on edge clarity and delivering good detail at distance.